For most of us, especially here in the Midwest, winter brings frosty temperatures (recently -16 degrees) and white fluffy precipitation that can turn the outdoors into a slushy, wet ambience. Since the changing seasons can make nature scavenger hunts more of a challenge, why not bring the hunt indoors?
I love the concept of repurposing. Take that clutter and random collections of odds and ends (like old buttons and ribbon pieces) that you’ve been saving “just in case you need it” and clear it out. Search around the house for common items—paper plates, plastic cups, paper towel rolls, magazines, etc.—and see what beauty they can be transformed into with a little creativity and fun!
Art is one of the best ways to encourage a child’s self-expression, especially through process-based art. Allow children to explore, come up with ideas, and make their own decisions on the final outcome instead of having a preconceived finished piece of art they are aiming to recreate. There is a time and place for art & crafting kits, which are fun and relaxing, but true creativity comes from within and not just following directions. So start your scavenger hunt. Explore the house and see what your kids can find. Then ask them what they could turn it into. Could they paint it? What color? Wrap it with construction paper? Cut it up into pieces? Glue or tape other objects onto it? Children need to be encouraged to take risks and grow creatively to develop their self-expression. As my son (now 8 years old) and I went through this open-ended process, we decided to create nature inside since it was too cold to be outside during the recent negative degree weather snap.
Here are 5 winter art repurposing ideas to try (see the end of the article for our creations):
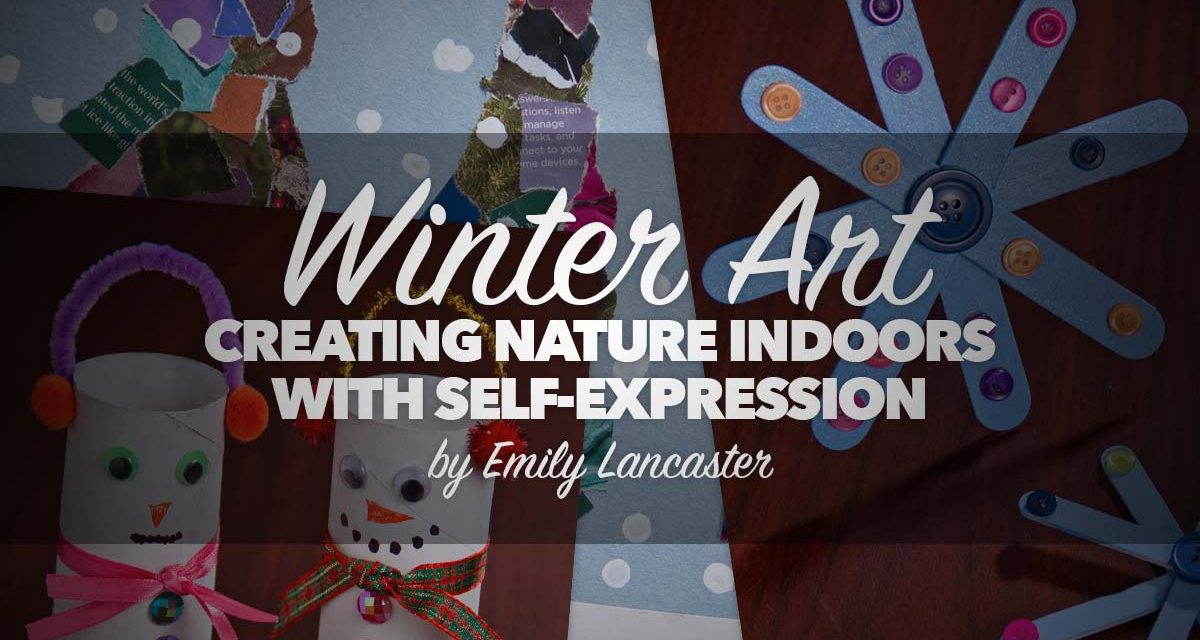
Snowmen with Toilet Paper Rolls

Everyone has these around the house and you’d be amazed at how cute your kids can make them. Since it was too cold to make snowmen outside, we made them inside painting the rolls with white paint, using odd pieces of ribbon for scarves, gems for buttons, chenille stems & pom poms for earmuffs, and using wiggly eyes and markers to finish the face. And don’t forget to have strong, fast-acting glue for your projects—my favorite, Turbo Tacky Glue! Another idea: my son decided to make an octopus with toilet paper rolls. Cut the roll in half and paint with bright blue and purple. Attach 2 wiggle eyes and then through holes at the base, add 8 chenille stems that can be curled and bent in fun ways.
Winter Pine Trees with Magazines/Catalogs

Next, we created a whimsical winter scene of pine trees in the snow (see below). This was a blast for my son to search for colors in the magazine pages and then rip small sections out. We discussed analogous colors on the color wheel (three colors next to each other) and how using them in art can create harmony. My son decided to search for greens, blues and violets to create his pine trees. Use blue and white construction paper as the background and cut brown squares for the tree trunks. Next, glue the ripped magazine pieces onto the background until you have large triangle shapes for the trees. Finish by adding falling snow to the scene using the “paintbrush” of cotton swabs dipped into white paint.
Snowflakes with Old Buttons

What fun you can have when you repurpose buttons off old shirts! If you need a jump-start on your collection, tubs of assorted buttons are available. We created snowflakes (see below) by painting wooden craft sticks a soft blue. My son mixed his own color (blue + white) and we discussed in color theory, what a tint is (when you add white to a pure hue to create a lighter color) and a shade (add black to a pure hue to create a darker color). Once dried, we glued the sticks together and then glued assorted colored button onto the snowflakes.
Sun Catchers with Paper Plates
With scissors, clear contact paper, and tissue paper, making colorful sun catchers to brighten any window is a snap! Cut a circle in the middle of the plate. Cover the hole with contact paper. Now you can make good use of random single pieces of tissue paper. Place torn or cut pieces of tissue paper on the sticky side of contact paper. Finish by covering with another piece of contact paper. Punch a hole at top, add some ribbon, hang and enjoy!
Plant Seedlings with Yogurt Cups
Get ready for spring planting in the winter? Yes! Create some fun designs on repurposed yogurt cups with colorful solid and patterned tape. There’s something satisfying about tearing and applying tape to objects for kids—and adults too. Don’t forget to punch holes in the bottom of the cups. Once you’re ready to start your seeds indoors (usually around March), just add some soil, your seeds, follow the sunlight and watering directions for your seeds. Spring planting here we come!
Enjoy these projects and create your own indoor nature ideas. If you have some great ideas (and even pictures) of nature crafts you’ve constructed, look for our Facebook post to share them. We love seeing creativity in action!


