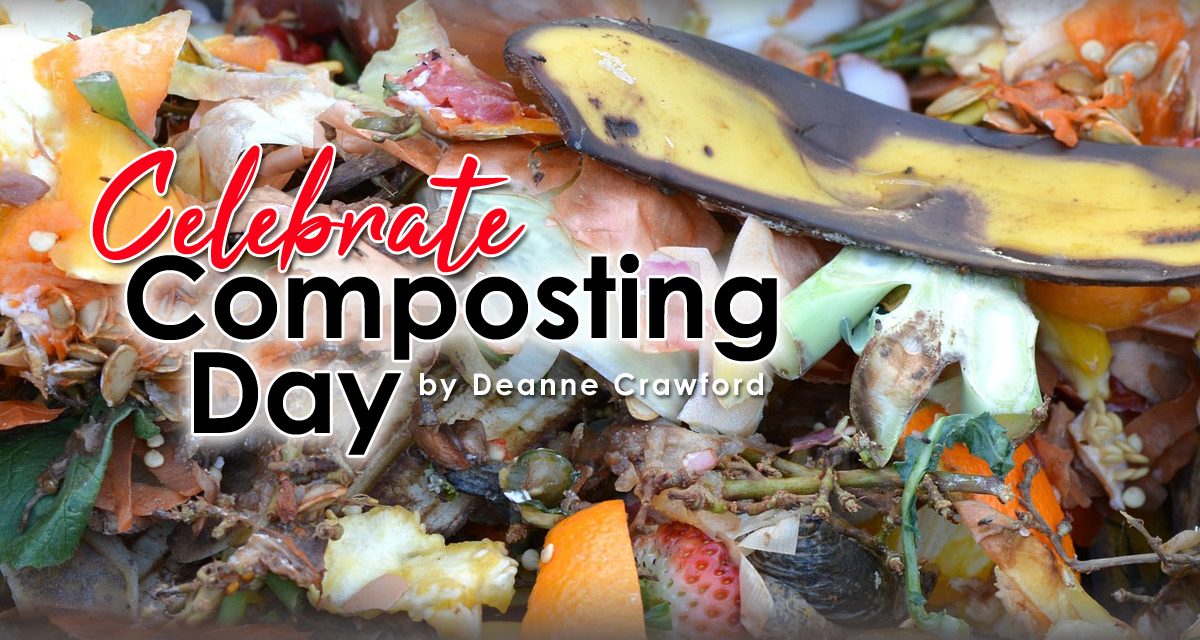
In 2011, Holiday Insights dedicated May 29th as Learn about Composting Day, and at Rainbow we celebrate this organically inspired day. Truth be told, raised vegetable gardens and composting are part of our Rainbow culture during the warmer months.
While composting may be a new term, clay tablets from the ancient Akkadian Empire reference the use of manure in agriculture. Historically, compost was preferred for healthy gardens until the early 20th century when chemical fertilizers were popularized. By the 1940s, plant scientists created a list of 16 essential ingredients for plant growth. The three primary nutrients (nitrogen, phosphorous and potassium) were needed in large quantities and it was not until World War II that production exploded in part due to munitions plants. Introduce your children to the history of fertilization and farming here. Chemical fertilization has been lauded for providing healthier, faster growing food crops with increased production beneficial to end world hunger. However, in recent years, scientists began to identify environmental harm, which has lead to a return to composting to restore soil health, especially for small farms and gardens. Composting has the added benefit of reducing waste in local landfills, erosion prevention, and reducing plant pests.
Have your children look up the definition of compost. Many people believe magic happens when you mix a “little of this and a lot of that” into a pile and wait for it to breakdown. But this is not quite true. Healthy compost is a mixture of five ingredients: green stuff, brown stuff, water, air, and time. While this may not sound scientific, these ingredients produce healthy, non-stinky compost that can be used in your vegetable gardens, flower beds or indoor plants.
Let’s look at the ingredients: Greens are materials that are rich in nitrogen or protein. They are the items that tend to heat a compost pile up because they help the microorganisms in the pile grow and multiply quickly. You may notice when checking your compost pile that it feels very warm. Working compost piles may reach 49-77 degrees Celsius. Have your children convert this to Fahrenheit by multiplying the Celsius temp by 1.8 and adding 32. What temperature range did they get? Monitoring the temperature can be done using a special probe available at garden centers, but most beginning composters use the “hot hand” approach, which means they touch the pile to see if it feels warm/hot. Regardless of the method, parental supervision is recommended for temperature monitoring. Things higher in nitrogen (greens) are fresh grass clippings, vegetable or fruit scraps, egg shells, coffee grounds/tea bags or sea weed.
Browns are carbon or carbohydrate-rich materials. Browns are the food source for the organisms that break down the contents of your compost pile. They also allow air to filter through the pile. Following this “recipe” you will want to create a 3 to 1 ratio of greens (nitrogen) to browns (carbons). But, don’t worry if you don’t get this exactly right! You can always add more greens or browns! If your compost pile is not heating up, then you may need to add more green material or if your compost is starting to smell, add more browns. Items higher in carbon (browns) include fall leaves, pine needles, twigs, straw or hay, corn stalks, newspaper/coffee filters, or paper plates (non-waxy).
Water is critical, but not too much! You want to mix in enough water to make the compost moist, but not saturated. Often overlooked, turning or mixing with a gardening (pitch) fork is critical as it allows air to reach the middle pile. Turning is necessary for the decomposition process, and ensures the heat created by decomposition to redistribute. It also gives you the opportunity to add water to moisten any dry areas. Mix and turn the compost pile every 7 days.
If you are not already composting, now is a perfect time to start! Several ways to compost are available, ensuring there is a solution for your situation. Some families like to start small by composting in the kitchen. Young children will enjoy creating compost in a bottle and PBS Kids for Parents provides helpful activities Challenge older students with the Compost: Scientific Investigation lesson plans from the California Academy of Sciences or Cornell University Waste Management Institute’s Composting in the Classroom which is filled with research possibilities. Another fun activity children may enjoy is vermicomposting (worm composting!) You can also take indoor composting to the next level with countertop composting. This requires more kitchen space than bottle composting and is an excellent introduction to composting as a family. Family Handyman offers some excellent tips for getting started.
Feeling more adventurous? There are several ways to compost in your backyard. First, choose a compost bin. This can be purchased or use one of the following links to make your own from pallets, a new garbage can, or my favorite the Rubbermaid® tote. (If you have ever seen Rainbow at an exhibit, you may have noticed that we own hundreds of Rubbermaid® totes!). Once you have a bin, select your location. Bare soil, good drainage and lots of sunshine are key. You also want to be able to access the site throughout the year. Place a 4”-6” bottom layer of twigs for drainage, followed by a layer of leaves. Then alternate with garden and yard waste (4” each) with a 1” topping of healthy garden soil and sprinkle of water for each brown/green layer. Follow the above ingredients list to prevent a rotten egg or garbage smell. Turn the compost mixture every 7 days and add a bit of water to dry areas. It may take 3 months (or more) for your compost to finish the decomposition process. Healthy compost is dark and crumbly in texture and will have a pleasant, earthy smell. When you have healthy compost, add it to your garden, flower beds or house plants. Join your children in some fun, healthy dirt play and learn a bit of science along the way!


